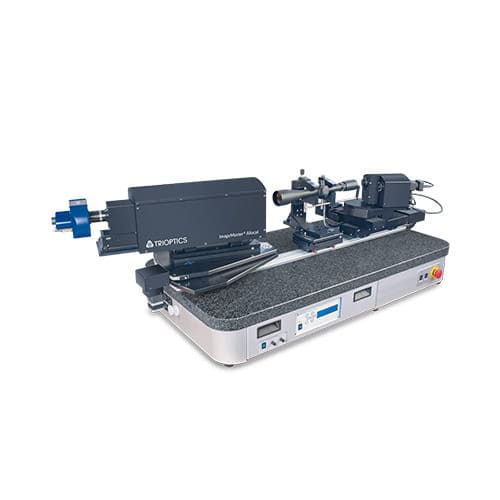
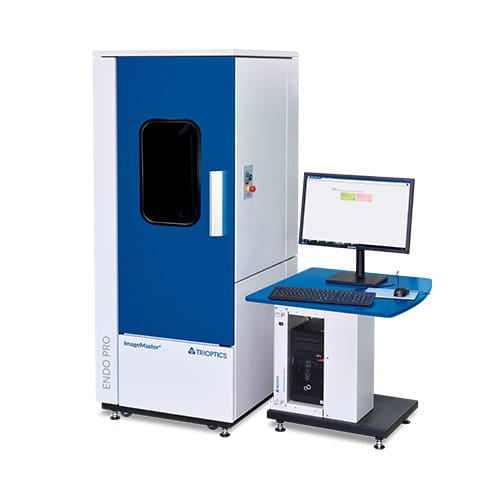
Measurement solutions for optics manufacturing
Testing technology from a single source
We use the term optics manufacturing to cover inspection of the material, production of the individual elements – prisms and lenses – and the assembly of complete lens assemblies. This involves a large number of single steps. For many of these processes, we supply inspection systems which guarantee consistently high quality.

Determination of the refractive index
Before glass is worked into its final form, it has to be checked for its most elementary property – refractive index – first. For this complex task, prisms are worked out of the glass block and the refraction of specific wavelengths is examined. For this application, we offer the SpectroMaster®, currently the most accurate measuring instrument available on the market.
Testing of prisms
In optical systems, prisms usually fulfill one of two tasks: light deflection to compress the physical dimensions of a system or, with the use of special coatings, for beam splitting. For this reason, the flatness of the individual optically effective surfaces, their perpendicularity to the base area and the angle between the optically effective surfaces are crucial for the optical properties of prisms. Each of these measuring tasks can be solved using products from our company.
Testing of single lenses
The imaging performance of a single lens is determined by the quality of the individual surfaces and their mutual orientation. In order to avoid scrap, individual properties such as e.g. curvature radius and lens center thickness are checked during the manufacturing process. Once they are finished, the inspection steps for centering and MTF quality are carried out. Some lenses also require inspection of the surface quality and the wavefronts. We provide the proper system for the resolution of all these working steps!
Design of lens systems
Under the term lens systems we denote even small elements made of cemented lenses such as achromats, as well as larger combinations of lenses like complete lens assemblies. The centering of individual elements in relation to one another is important for the design. The classic approach is to align the optical axis of an element to that of the other lens or to the cell edge. Alternatively, the cell edge of a mounted lens can be turned so that it is symmetrical to the lens axis. No matter which method you choose, we have a solution for you.

