Refractive index measurement
Two central material properties of optical glasses and crystalline materials in the UV, VIS or IR spectral range are their refractive index and their dispersion. Manufacturers of optical glasses, national metrology institutes and scientific research institutes with the highest accuracy requirements rely on TRIOPTICS products if they want to determine these values with high precision.
Applications
High-precision refractive index determination
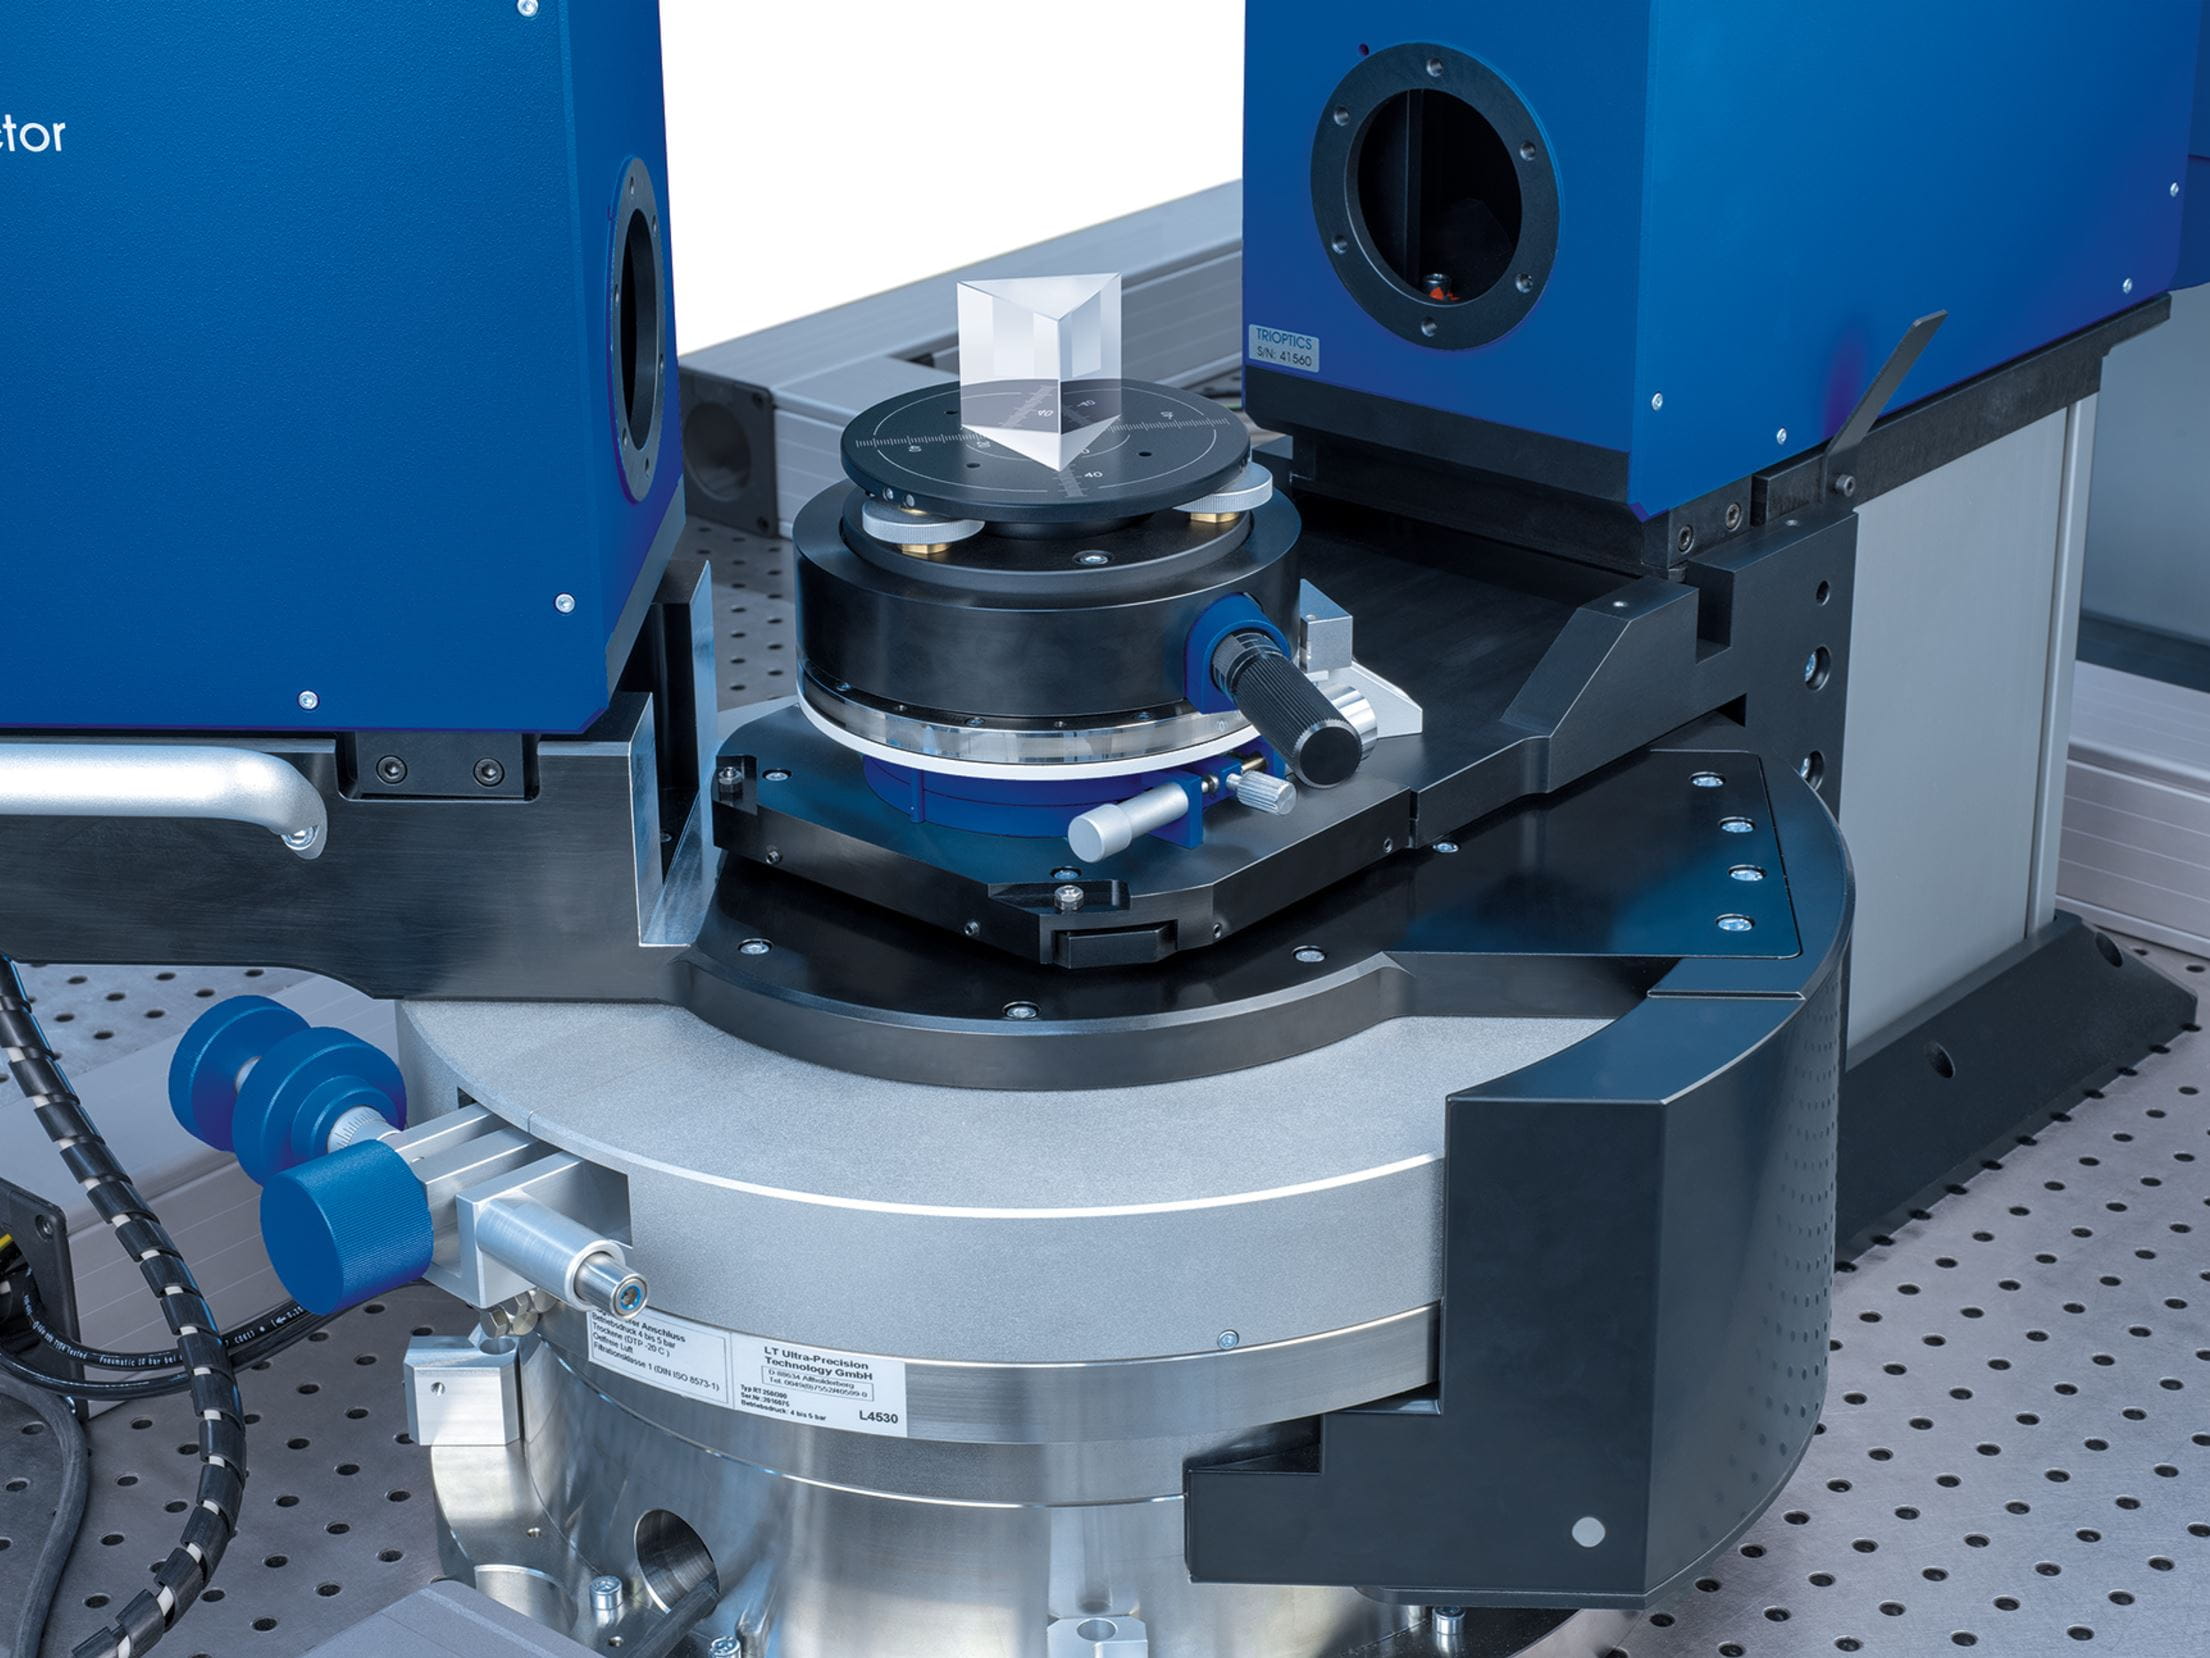
The minimum deviation method for high-precision refractive index determination was described by Joseph von Fraunhofer in the early 19th century. It is based on the refraction of light through a precise prism made of the optical material under investigation. This requires precise knowledge of the vertex angle of the prism. Our SpectroMaster® is a combination of spectrometer and goniometer.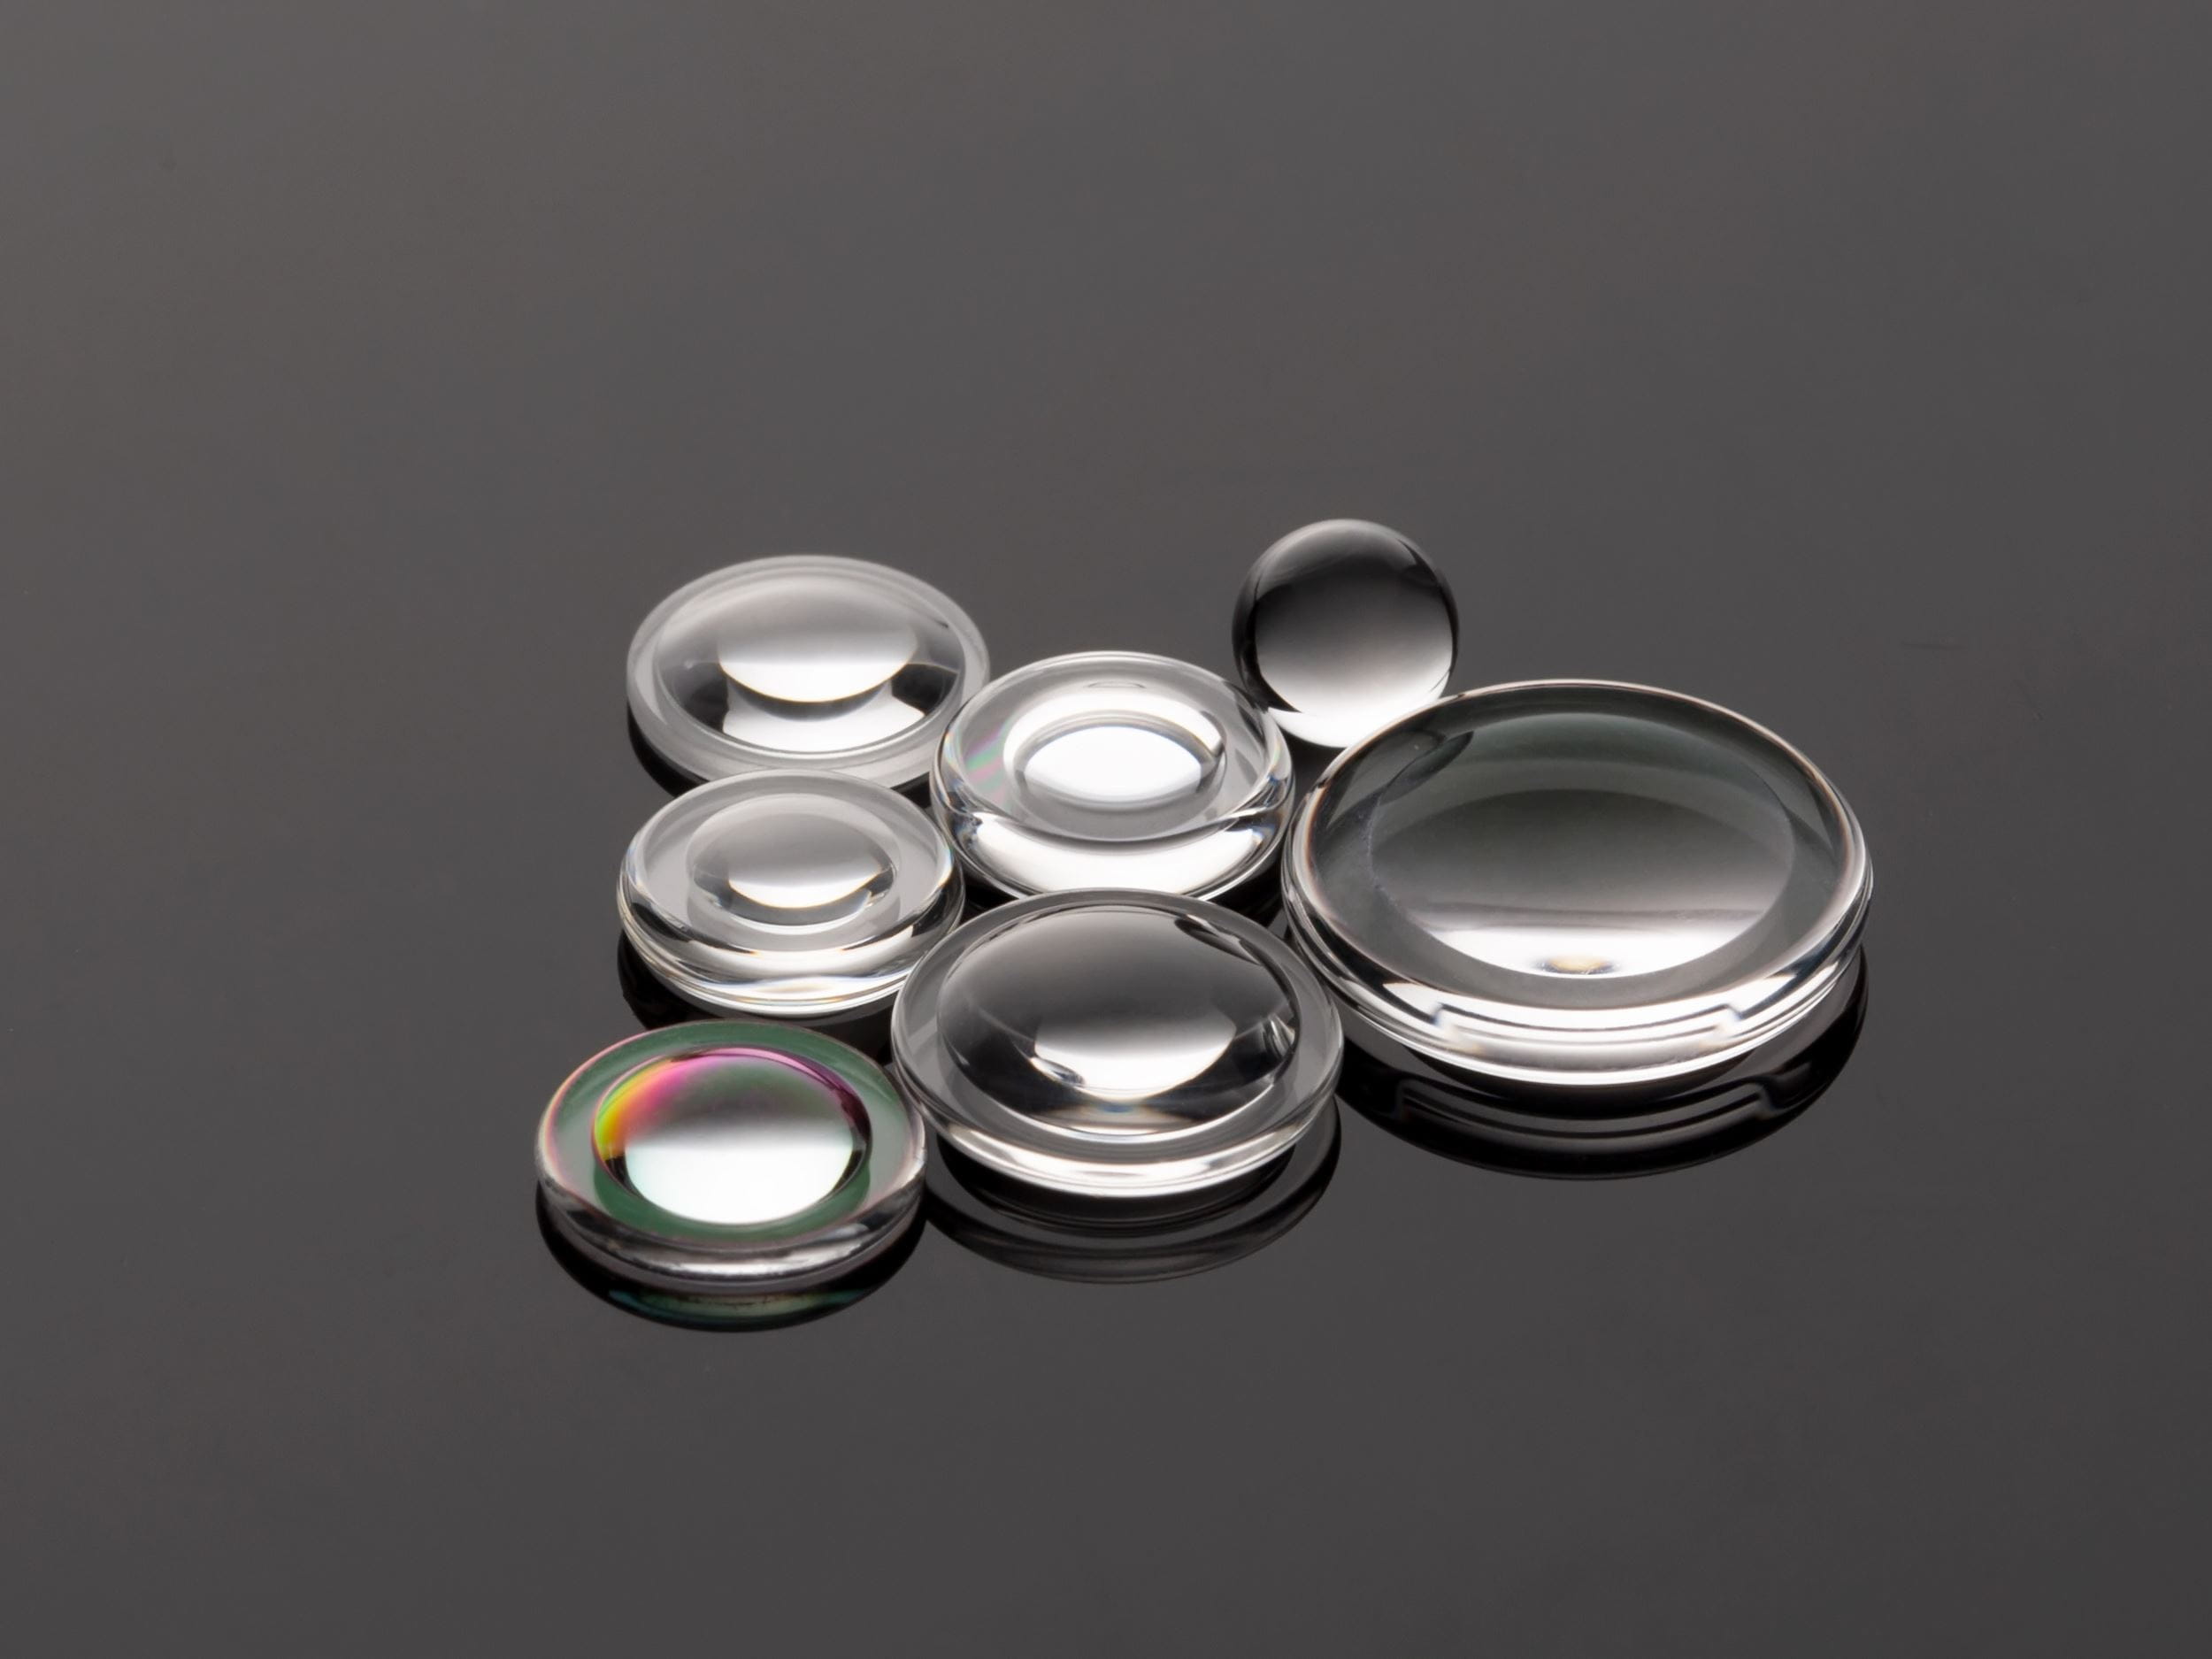
Quality control of injection molded lenses
Is the material of my molded lens what it should be? This question is easily answered with the OptiSurf® LTM and LensGage. The system determines the refractive index of finished lenses - without any additional information or test steps!
Reverse Engineering
Do you have a lens you want to replicate, but no records of it? Use the OptiSurf® LTM and LensGage to determine the glass material of the lens. We also have solutions for measuring center thickness and radius.Knowledge base
Minimum deviation method
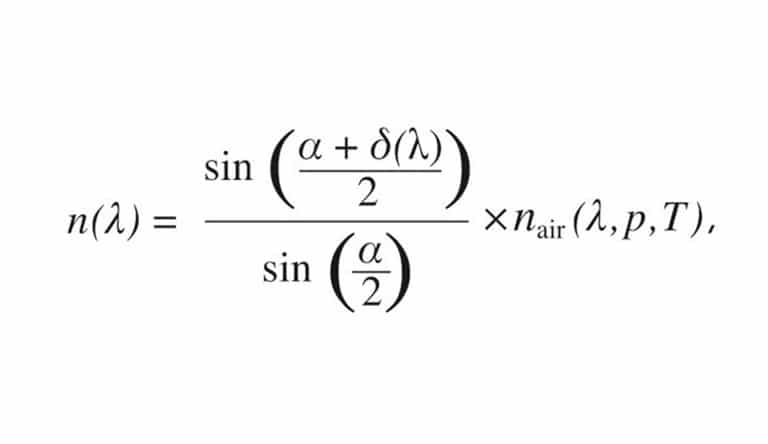
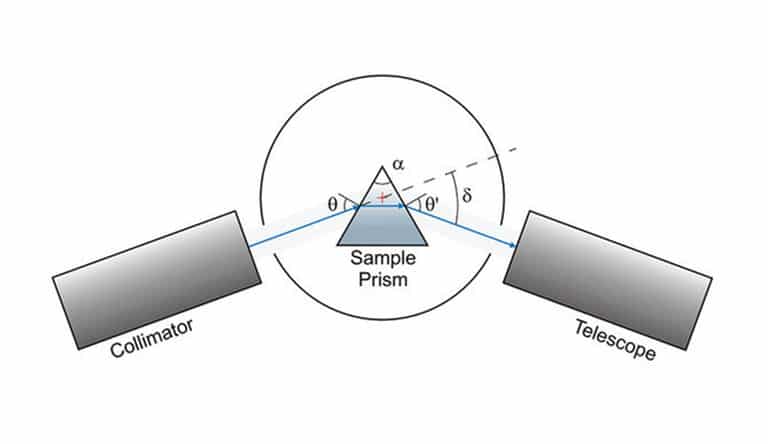
The minimum deviation method as described by Fraunhofer at the beginning of the 19th century is sketched below. It is based on the refraction of light by a precise prism manufactured from the optical material under investigation. A bundle of monochromatic collimated light from a collimator enters at one surface of the prism and is refracted at a certain deviation angle δ when leaving the second surface. The deviation angle is a function of the wavelength λ and is measured by a telescope attached to a goniometer table. The angle enclosed by the two prism surfaces is generally called the apex angle α of the prism. When the incidence angle θ at which the light enters the prism is changed, the deviation angle δ changes too. It can be shown that the deviation angle δ becomes minimal when the angle θ’ at which the beam leaves the second surface is equal to θ, i.e. θ = θ’. This symmetric case is the so-called minimum deviation condition. In this case, the index of refraction of the prism material can be calculated according to:Where nair is the refractive index of the ambient air. nair is a function of the wavelength λ, temperature T, pressure p and humidity and can be calculated with sufficient accuracy from p and T with the generally approved Edlén equation. In most cases, the humidity can be neglected. Since these calculations are quite complex and error-prone, this is done automatically by the instrument software.
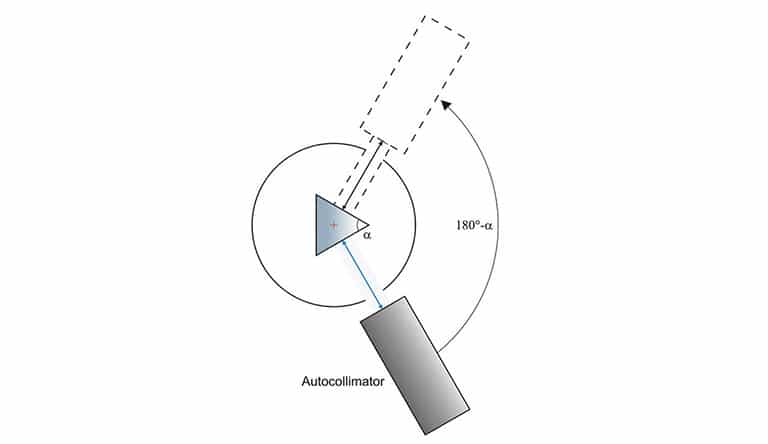
The refractive index can be determined only when the apex angle α is precisely known. Both angles α and δ are measured with an ultra-precision goniometer with sub-arcsecond accuracy. The apex angle α is measured with an autocollimator attached to the goniometer table.
Group refractive index
The OptiSurf® measuring system is used for the non-contact determination of the geometric distance between two surfaces. This is calculated from the measured optical path length (OPL) and the refractive index n of the material.
d = OPL / n
The refractive index n describes the change in the speed of light of monochromatic light in a material compared to the speed of light in vacuum.
Since the refractive index is wavelength-dependent, the propagation speed of monochromatic light differs from that of spectrally broadened light. This results in the so-called group refractive index ng, which can be determined from the refractive index n, according to:
ng (λ) = n (λ) – dn (λ) / dλ
ng Group refractive index
n Refractive index
λ Wavelength
Our Newsletter – Your advantage in knowledge
Be one of the first to experience our product novelties and innovative application possibilities.
