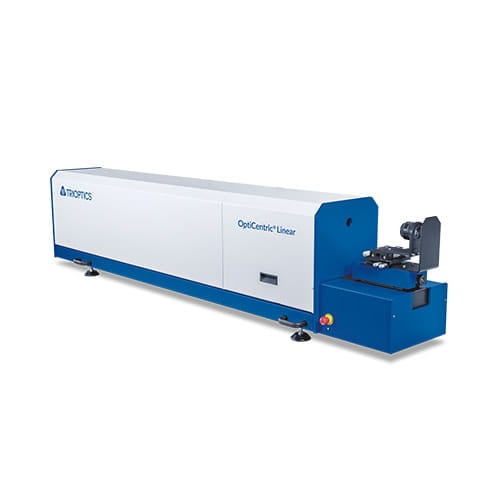
INNOVATION: OptiCentric® Linear sets new standards
Rotation-free centring test increases speed and flexibility

At this year’s Optatec, TRIOPTICS presented the OptiCentric® Linear measuring system for the first time in Europe, which performs centring testing of lens systems without rotation and independent of the orientation of the specimen bearing.
The OptiCentric® measuring systems from TRIOPTICS have been the standard for centring testing of single optical lenses and lens systems for two decades. With their sophisticated optics and mechanics, intuitive software and patented test algorithms, the systems achieve measurement results with the highest precision. For this purpose, however, the test specimens must be measured on a precision rotary bearing. The use of such a rotating bearing typically forces a vertical measuring arrangement.
“However, two groups of our customers have to struggle with these restrictions,” explains Product Manager Dr. Patrik Langehanenberg. “First of all, there are those who want to test high-quality lenses in which image stabilizers are installed. Here, the positioning of the individual lenses in a vertical test situation is not the same as in later use. The second group are customers who want to use centring testing in series production. The conventional procedure with its rotation is simply too slow.” Faced with this challenge, the engineers at TRIOPTICS have now developed a centring test procedure that can perform a centring test without rotation and independent of the test specimen bearing – the OptiCentric® Linear.
The secret of this test method lies in the fact that the linear movement path of the autocollimator focus – and not the rotational axis – is used as the reference axis for the measurement. The position of the test specimen’s center of curvature is measured relative to this focus position. “Deviations from the perfect linear trajectory of the focus are compensated by calibration in our factory. In this way, accuracies of ≤ 1 µm can also be achieved in centering error measurement,” confirms Langehanenberg.
This new measuring technology considerably increases the degrees of freedom of the measurement. This means that the orientation of the measurement setup is freely selectable and can also be carried out horizontally. The lack of rotation also ensures the speed required to carry out quality checks in series production. “The reactions to this new process were consistently positive,” reports Langehanenberg after Optatec in Frankfurt. “We are very flexible in the further development of this product and, in cooperation with our customers, can create solutions that go beyond our initial idea. The possibilities of the OptiCentric® Linear are far from exhausted”.